The Jute-Wrapped Wine Bottle
I know that you aren't surprised that I somehow incorporated my love for wine into a crafting project. But, I figured I have some empty bottles laying around, and if I didn't then that is a good reason to buy a bottle of wine and enjoy it so that I can use the bottle. :)
A few things you need for your project:
Wine bottle - empty & clean
Mod Podge (who doesn't need this?!)
Paint brush
Roll of natural jute string
Any decor you want to add - I bought the denim flower in the scrapbook section of Hobby Lobby along with the lace and the gem for the middle of the flower. The other rosette was made from burlap.
Hot glue gun
Okay, so first thing's first. Drink the wine and then clean the wine bottle. I actually had some large bottles left over from some other projects that I had worked on around Christmas. To clean the bottle, I try and peel as much of the label off as I can, but then I submerge the bottle in some soapy water and let it soak for a bit. This usually loosens the adhesive and you can pull the majority of the label off. However, if I can't get the label off this way, I usually use an S.O.S. pad. These are my go to for tons of cleaning projects. You can use the pad to scrub off the rest of the adhesive. Once all of the label and adhesive are scrubbed off, you can let the bottle air dry or dry the bottle with a towel.
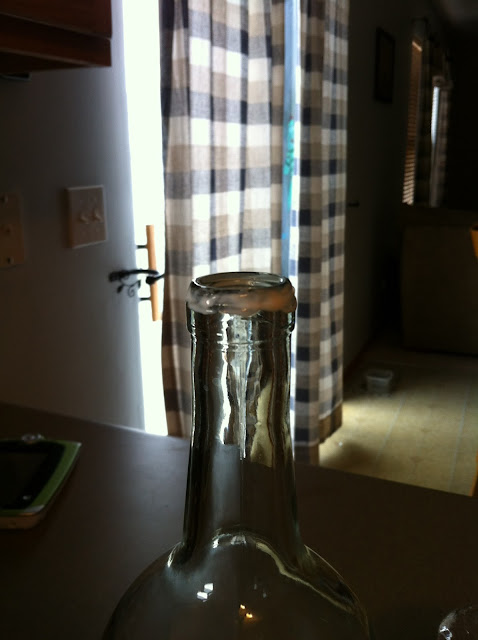
Next, I take my brush and dip it in the Mod Podge. I then put on a thick layer around the opening at the top of the bottle. It is best to start at the top of the bottle rather than the bottom because when you get to the sloped part of the bottle, the string will start to creep up but will stay in place because of the jute string you have already in place.
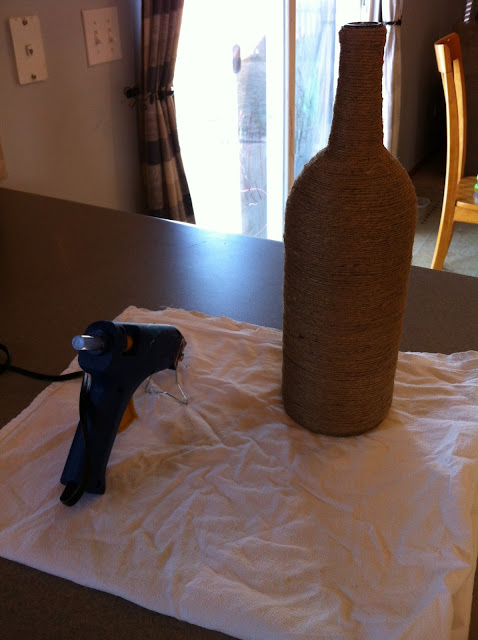
I place the end of the jute string at an angle so that when you wrap the rest of the string around, it will cover the starting point. Once you place your jute string on the bottle, you will have to hold it there until it sticks. Once it sticks, you can walk away until it is dry or until it has adhered to the bottle to the point that when you pull on the string it does not come off the bottle easily. Then you continue to add Mod Podge to the glass, and begin wrapping your string around the bottle evenly. It is easier to wrap if you spin the bottle and hold the jute string so that it applies a little pressure against the bottle and therefore helps it stick to the bottle. If it appears that your string is beginning to gap some, just take your fingers and push it upward to cover the gaps, but be sure to do this all the way around so that the string remains even. **Note: Check for gaps after a few rounds of string to be sure that you can still move the string before it dries.**
When you get close to the bottom of the bottle, flip the bottle over. This part takes a little more time and can be a little sticky. Apply a generous amount of Mod Podge to the glass and the last round of string. Then continue to wrap your string around the bottle, but squish the new layer of string to the last layer. You may have to hold there for a bit as you continue to wrap the string around the bottle. When you feel as though you have covered the majority of the bottle and that you can't see the bottle itself, add some more Mod Podge, cut the jute, and press the last piece to the bottle until it remains adhered to the bottle when you move your finger. After this, I leaned my bottle against something and let it dry completely.
Once the bottle is dry, it is time to glue on some bling! I bought this lace ribbon in the scrapbook area of Hobby Lobby. Place a little hot glue on the ribbon and press it to the bottle. Then wrap the ribbon around the bottle, and cut it where both ends meet. Place a little more hot glue on the other end of the ribbon and press it to the bottle.
Happy Friday!


